Welcome to StackWrap! Account Set Up + Launch

Welcome to StackWrap!
StackWrap brings all of your real estate tools, systems, and resources into one fully-customizable platform. This guide will walk you through the essential steps to fully understand the system and successfully launch your account!
As you're setting up your account, you can search our library of help documents within the StackWrap Beacon on the lower right of your screen within the app.

Additionally, your StackWrap Success Team will be assisting with your account set up process. Please click here to book an onboarding kick off call with our Success Team!
✨ StackWrap Setup Checklist
- Create Categories
- Create Items
- Set Up Groups
- Customize Homepage Widgets
- Integrate 3rd-Party Tools
- Set Up Notifications
- Managing Onboarding Tasks and Task Templates
- Final Account Review with StackWrap Customer Success
- Add Users + Launch StackWrap!
- Post-Launch Account Review
🔹 Step 1: Create Categories
Organizing your tools as Categories within the lefthand Toolbar is a core feature of StackWrap, and allows you and your team easy access to everything offered within your organization.

Categories can be created to do the following:
- Redirect to a 3rd-party URL
- Consolidating like-for-like Items (explained in the next step)
step)

Settings is your admin mission control for your StackWrap account. To add, edit, and manage your Categories, click on Settings, and then click the Categories tab. On this page, you can do things such as:
- Add a new category by selecting "Add New"
- Manage existing Categories by selecting the "Edit" pencil icon
- Share Categories with your team by selecting the "Share" paper plane icon
For a full tutorial on how to add, edit, and manage your Categories, click here.
🔹 Step 2: Create Items
Items in StackWrap serve as direct links to the tools, resources, and contacts your team uses daily.
For organizational purposes, Items are best used when they pertain to the specific Category they are under. In the example below, this account created a "Working with Buyers" Category, and then created related Items within that Category:
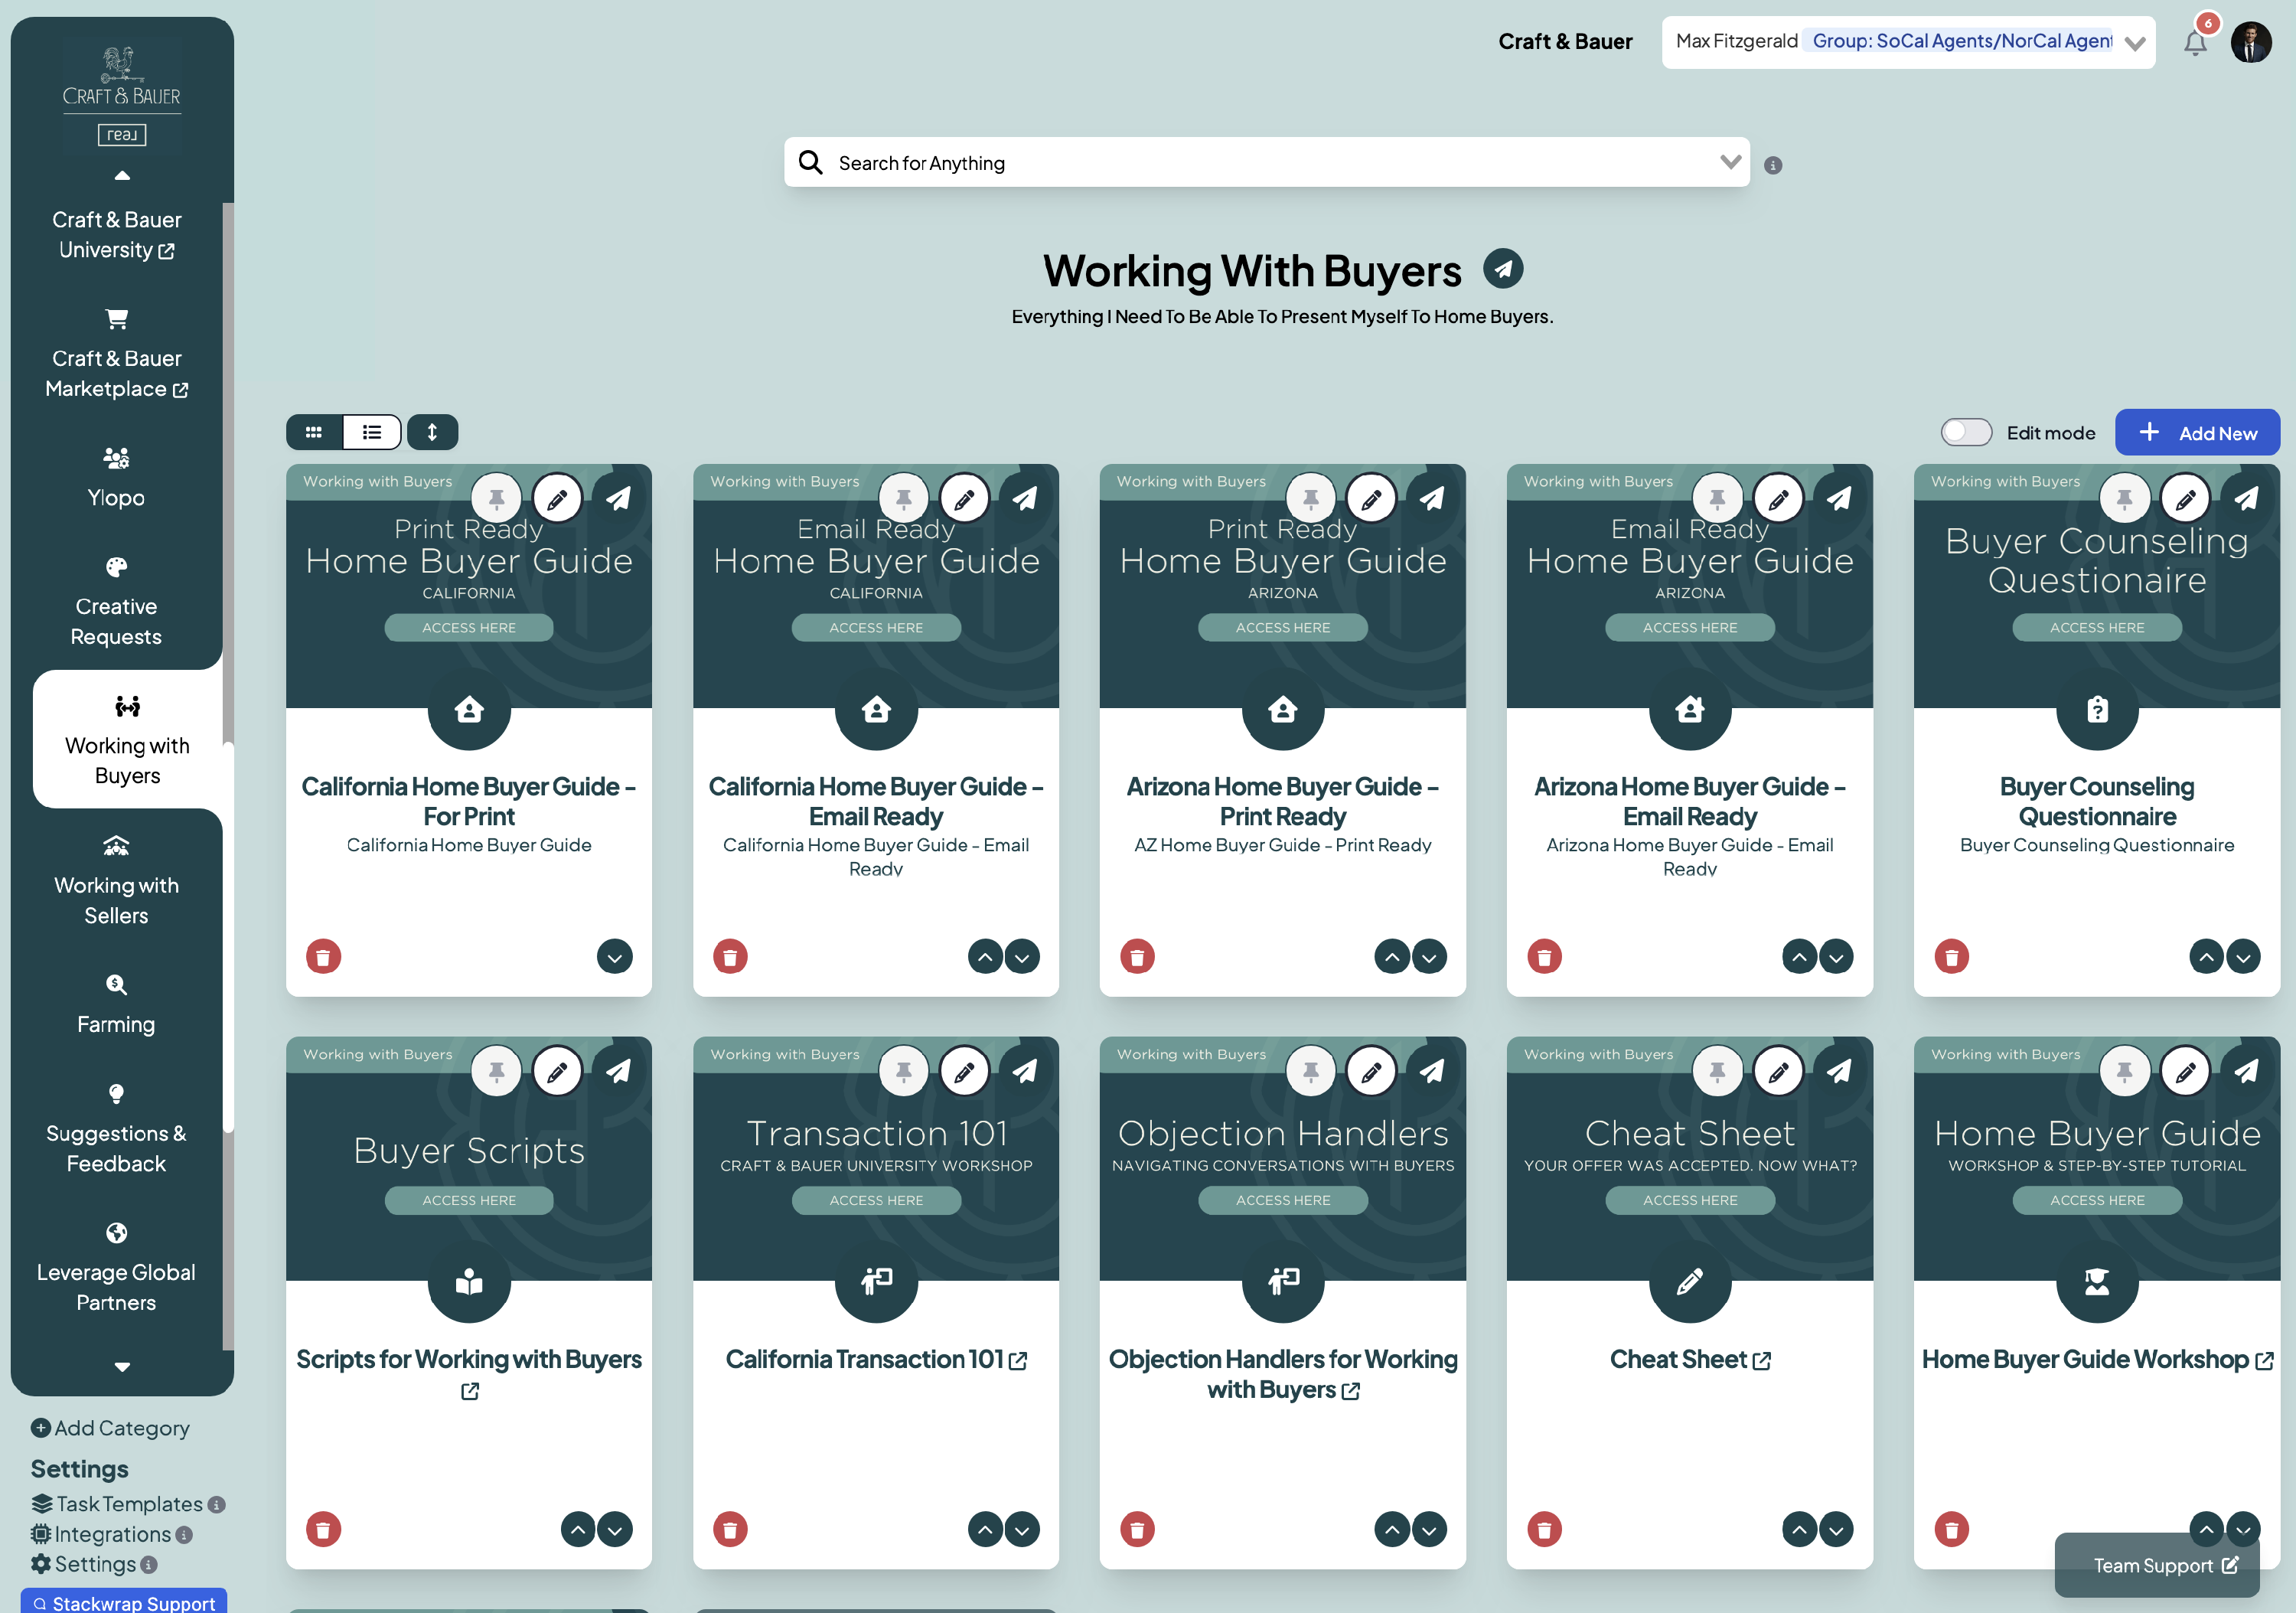
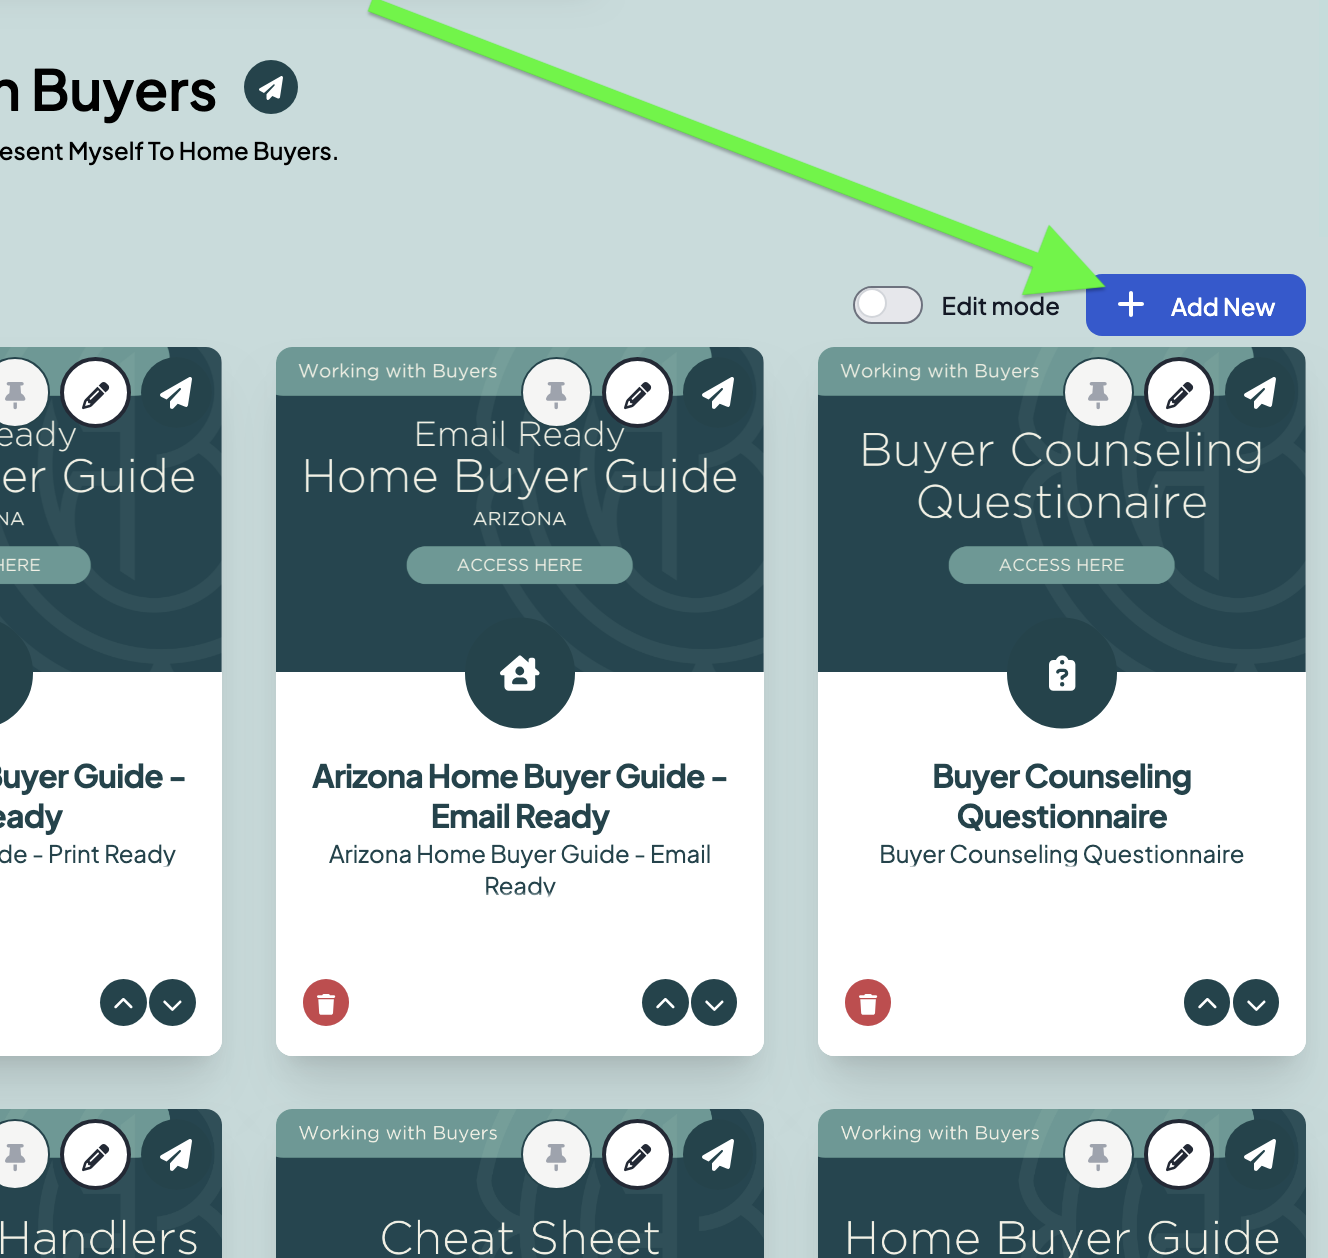
To create an Item, click into one of your Categories. Then, click the "Add New" button in the upper right:
When you are creating an Item, you'll notice that you have the ability to determine the functionality of the Item under "Item Type". You can also define the accessibility of this Item under "Group". You can even upload a custom image placeholder for any Item. The dimensions for the image placeholders are: 833 x 556 px.
If you would like StackWrap's Creative team to share a Canva file containing different Item image placeholders, click here to contact Customer Success.
For a full tutorial on how to create and manage Items, click here.
🔹 Step 3: Set Up Groups
You have the ability to create Groups of users. Groups can be used to define the accessibility of tools within your StackWrap account.
For example, if you have team members in different regions, you might want to create a Group for each region. That way, you can apply the Group(s) to the Categories and Items you want those specific team members to have access to.
To access Groups, click on Settings, and then head to the Groups Tab:
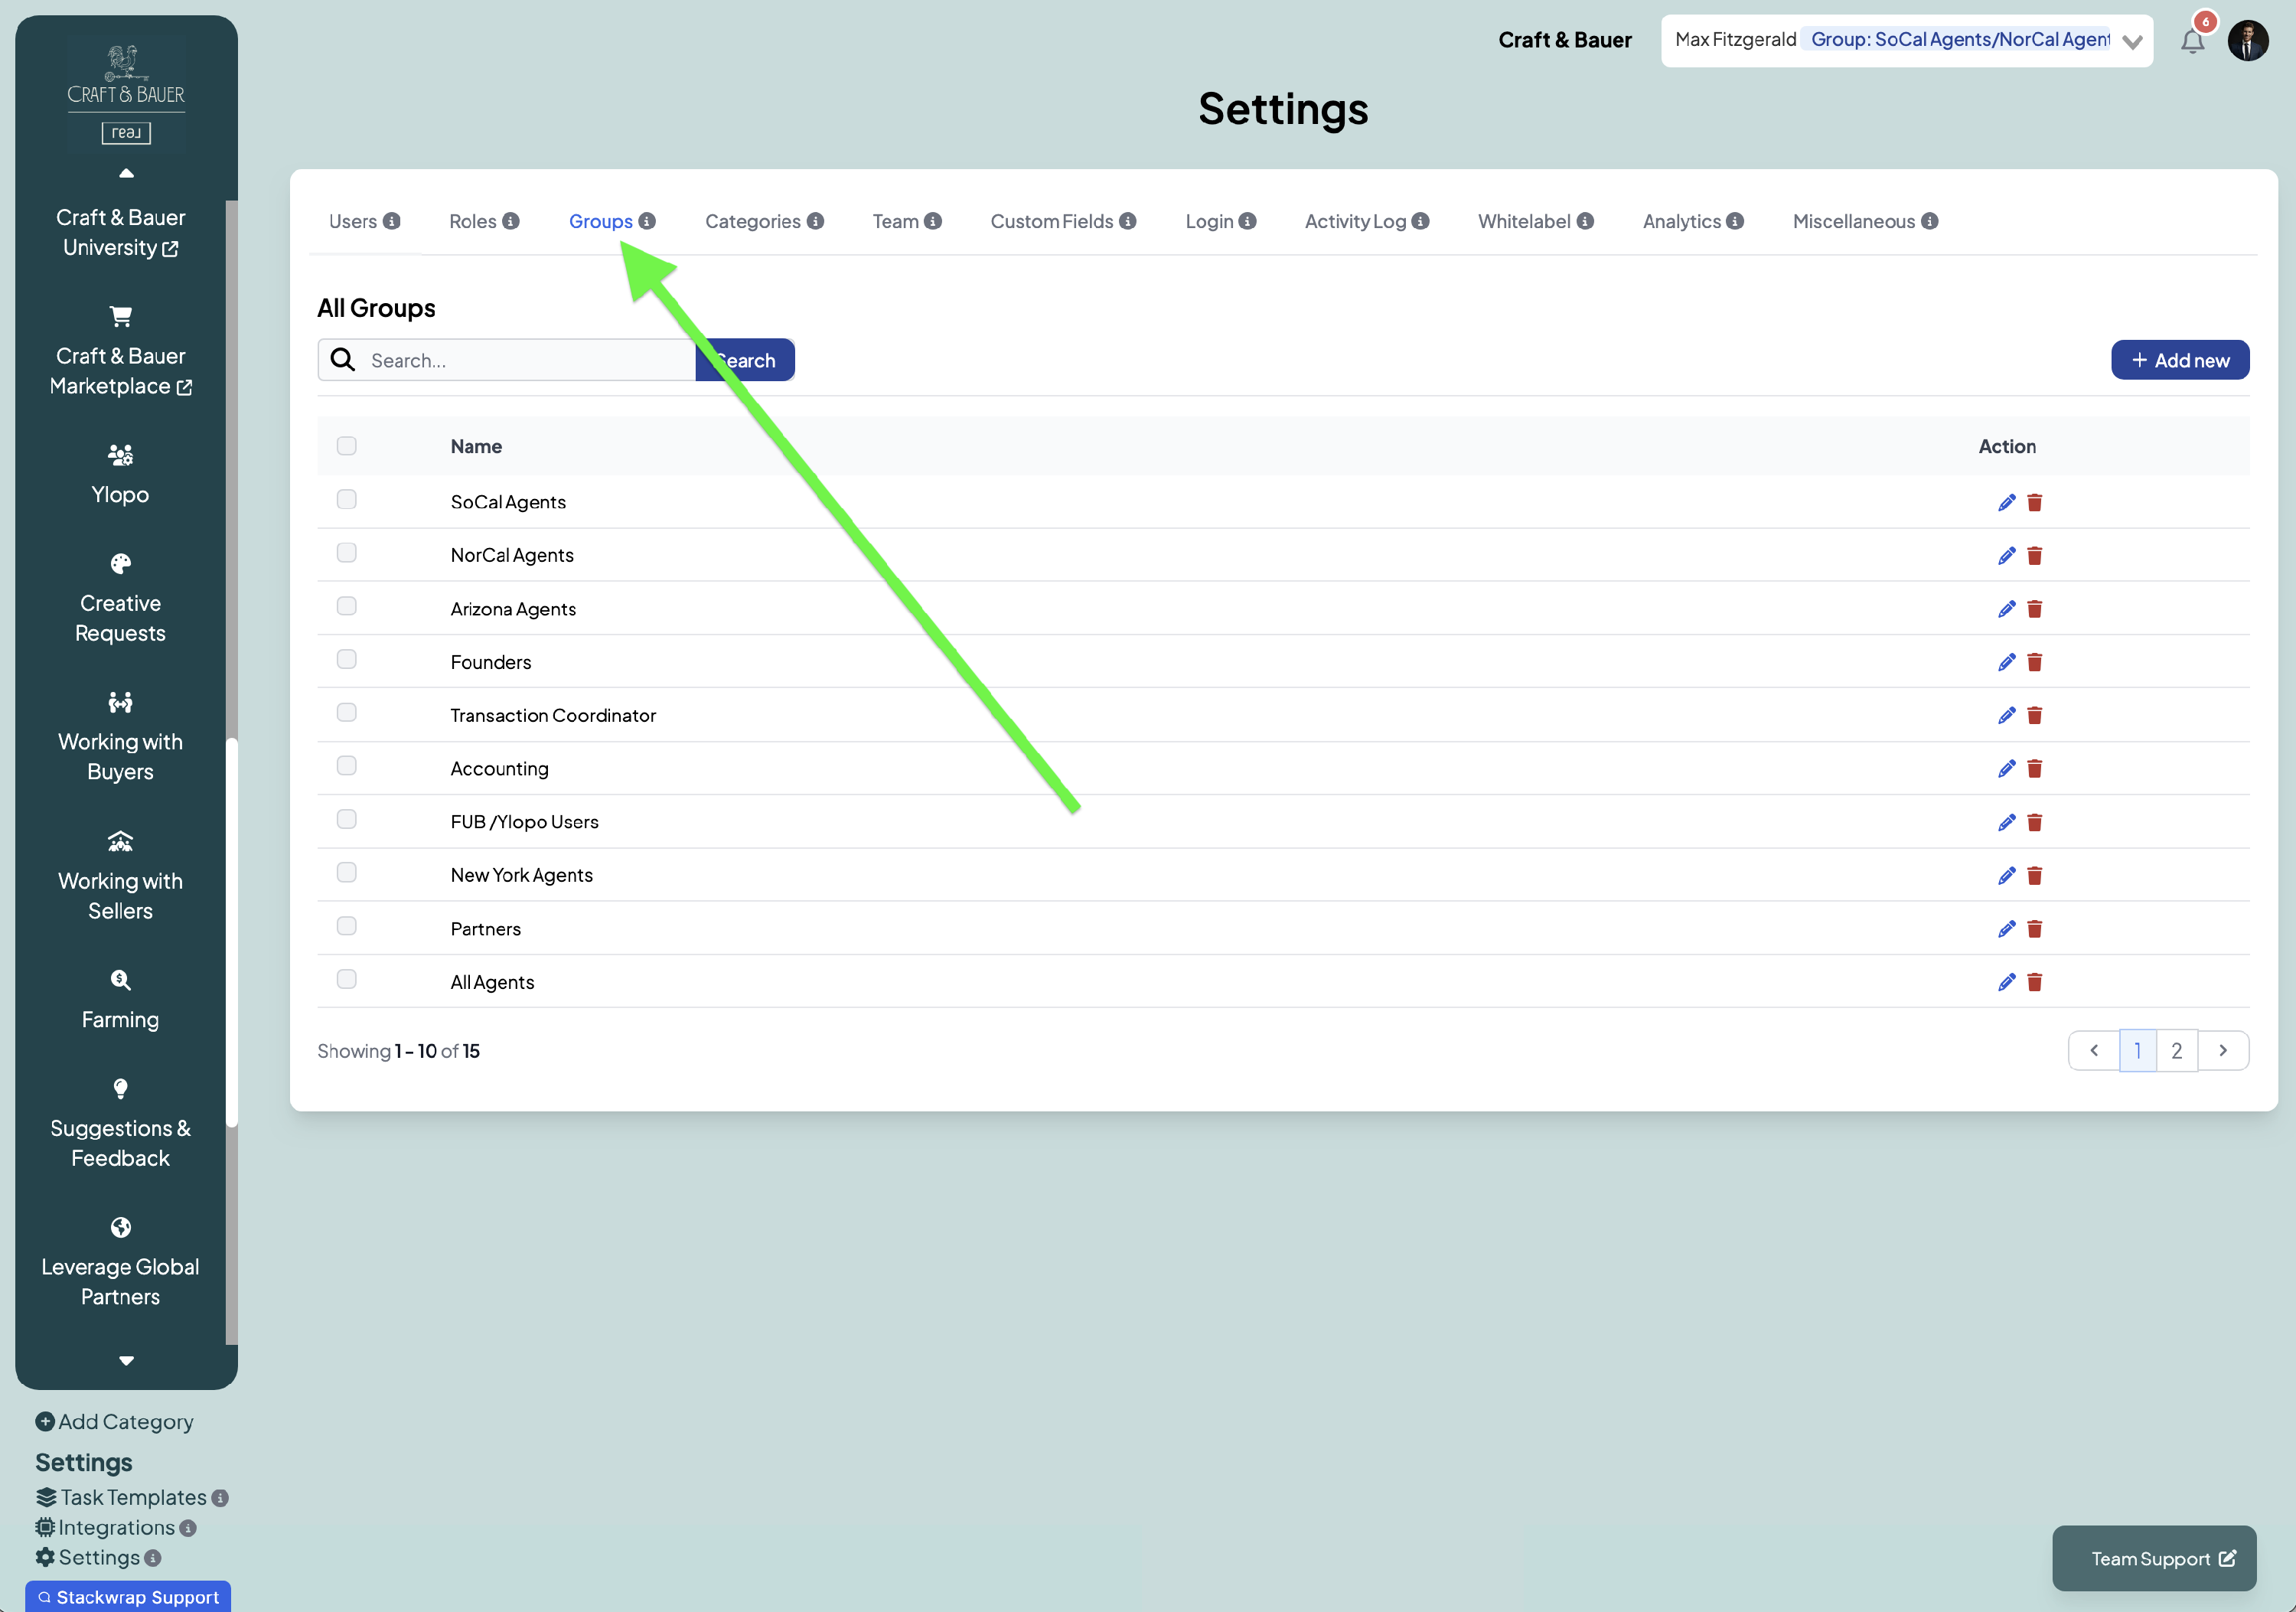
You can create as many Groups as you’d like by clicking the "Add new" button on this page, but keep this in mind:
- Anyone in an Admin Group or Admin Role has the ability to manage the StackWrap account
- When an Item or Category is created, the system defaults to ALL users having access to that new Item or Category. You can override this by selecting the Group pertaining to that Item or Category.
Tutorial: How to Create & Manage Groups
🔹 Step 4: Customize Homepage Widgets
The StackWrap Dashboard serves as your central hub offering quick access to your homepage Widgets. Your Widgets are connected to essential tools, tasks, and systems within StackWrap.
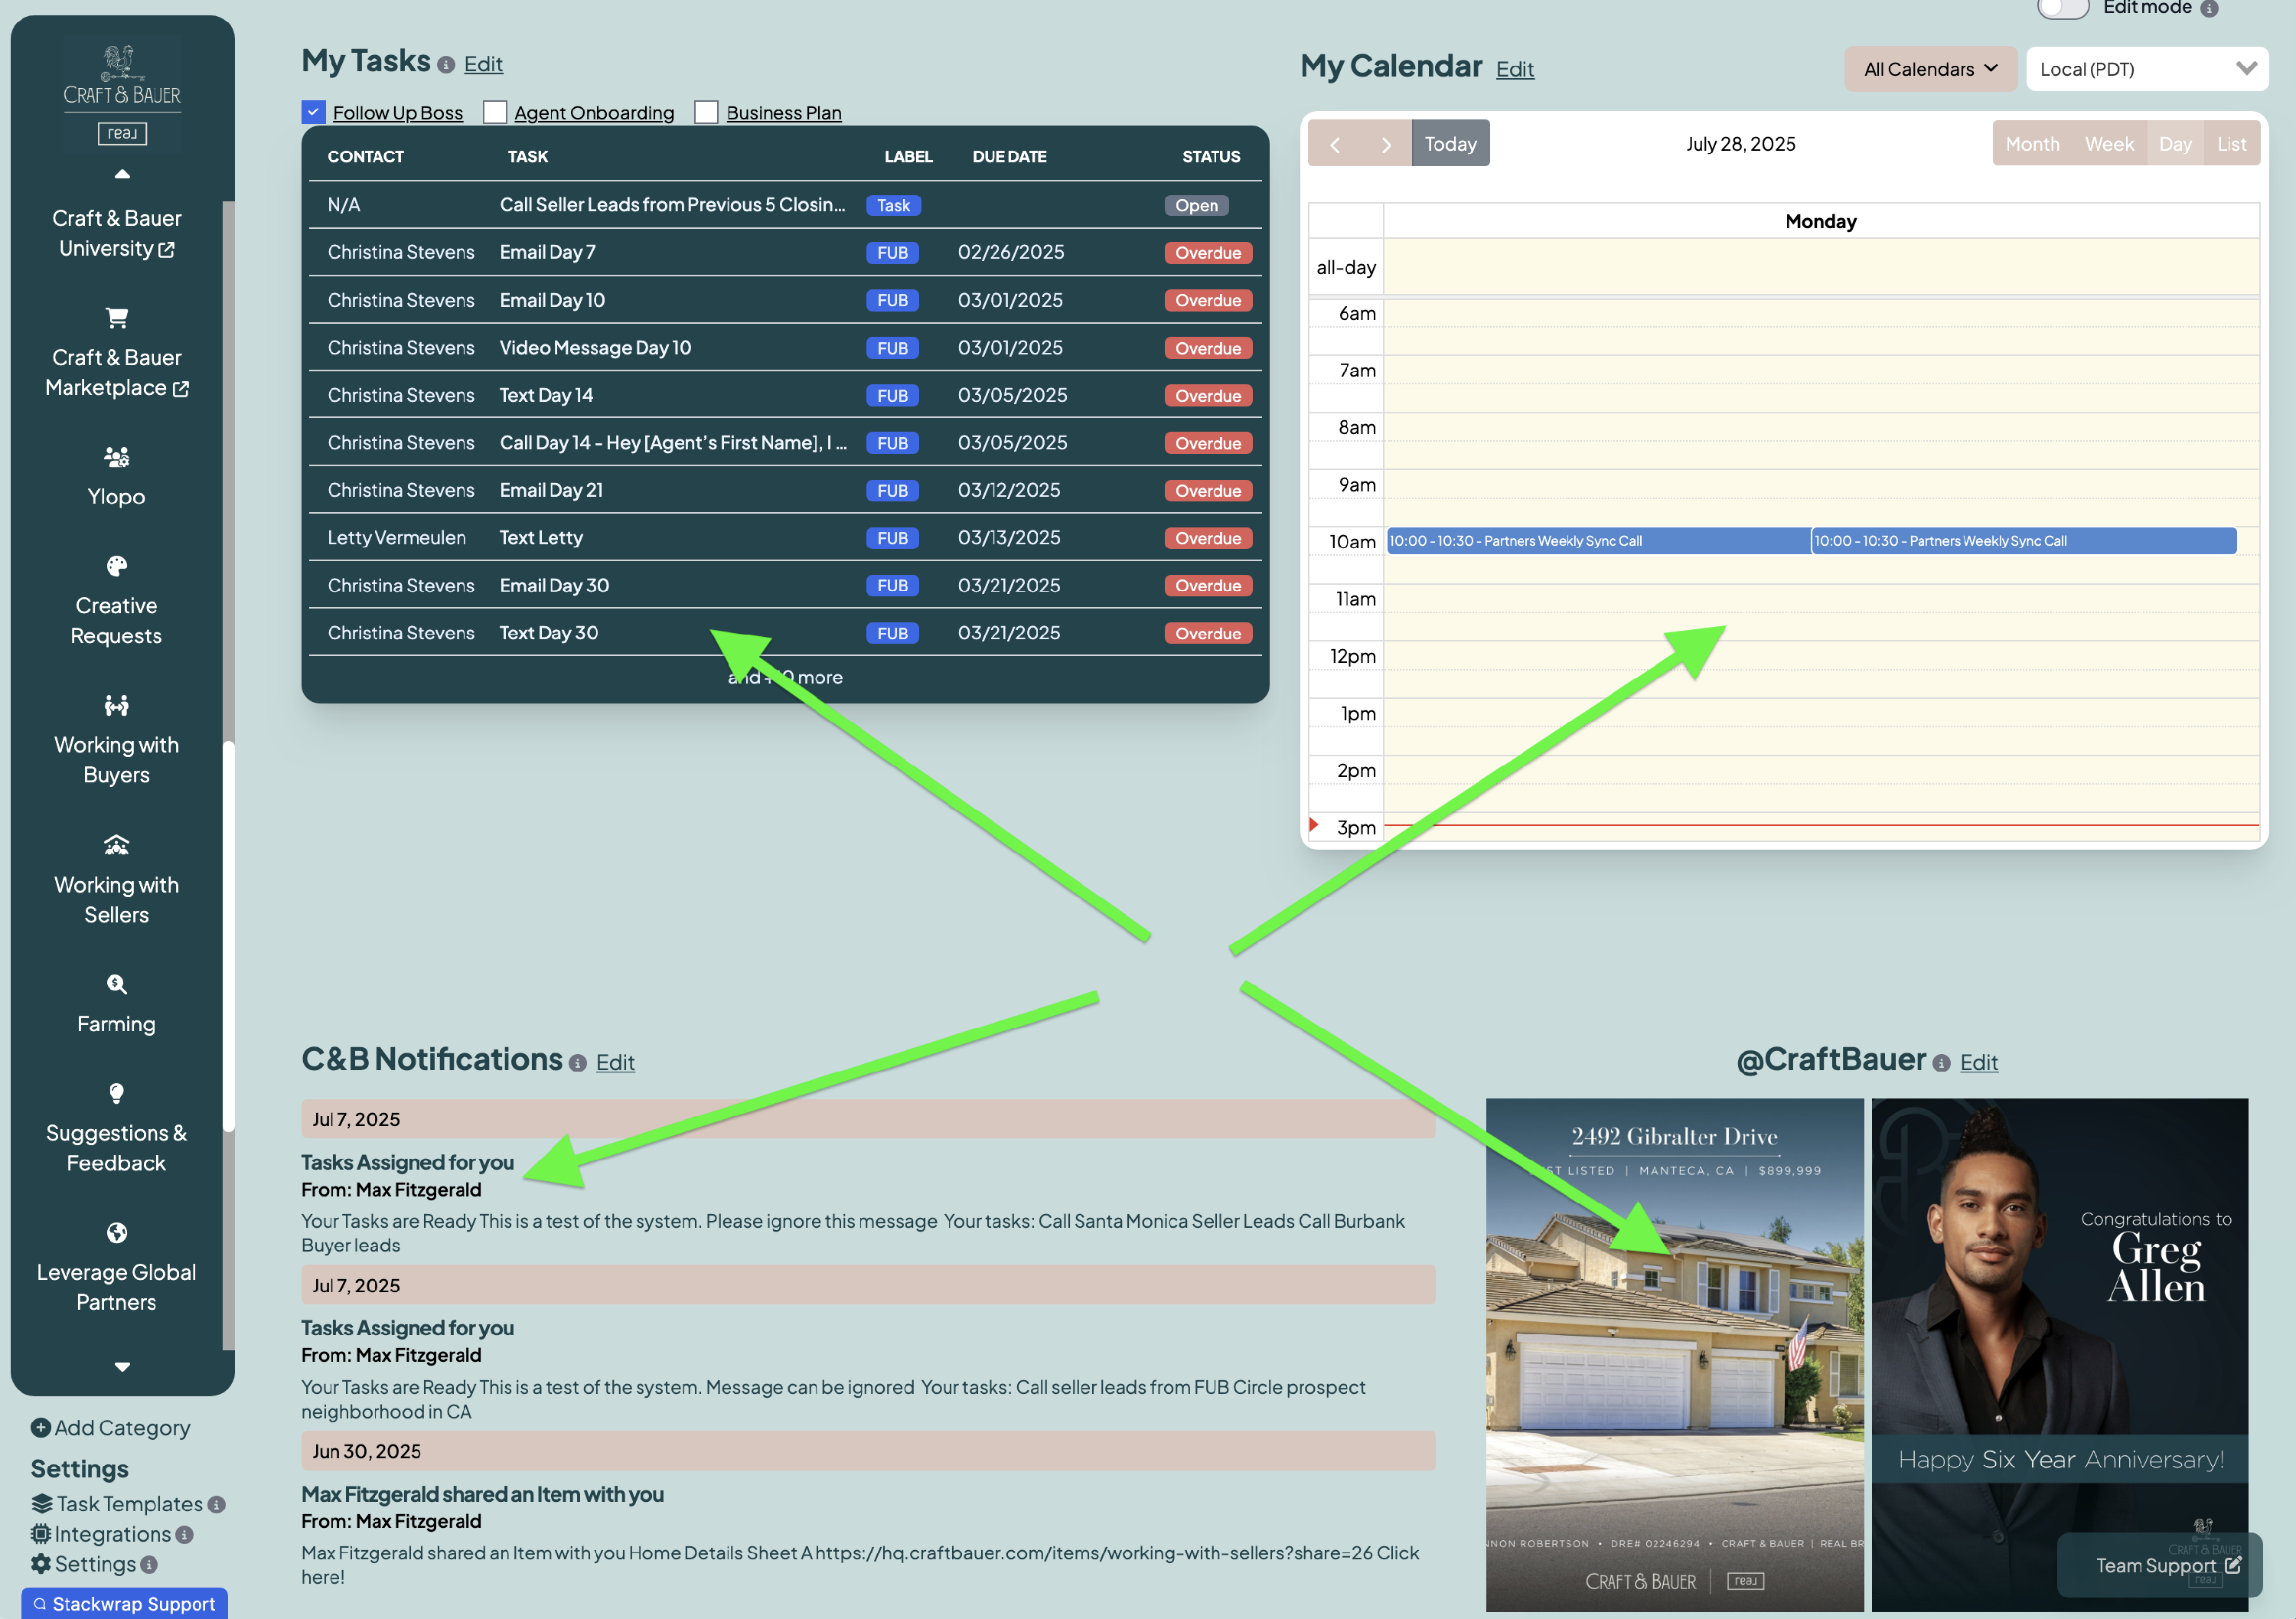
Upon logging into your StackWrap account, you’ll see that there are a handful of Widgets that are already populated on your dashboard. To add, edit, delete, and rearrange your Widgets, toggle "Edit Mode" on.
Many of the available widgets are synced to 3rd-party tools that your team is using, and some of these integrations will be handled by our development team. Therefore, don’t stress out about having to figure out how to link all of your tools. We’ll help with that on your Onboarding Kick Off call.
As a first step, organize the widgets however you’d like on your dashboard. Our team will then handle the heavy lifting!
Tutorial: How to Customize Widgets and Manage the Homepage Dashboard
🔹 Step 5: Integrate 3rd Party Tools
Integrating your company’s 3rd-party tools is a core feature of StackWrap!
Before you start, keep this in mind: each available integration is slightly different, and many of the 3rd-party integrations can be handled by our development team.
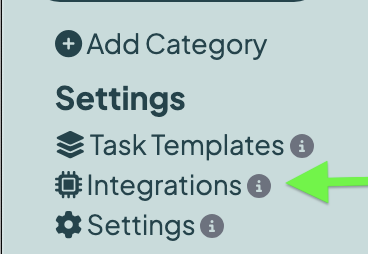
To access the full list of available integrations and manage your 3rd-party connections, click on Integrations:
If you are using a tool that you don't see on the list of available integrations, or if you need assistance connecting one of your tools to an existing integration, please contact our Customer Success Team here. We'll do the heavy lifting!
Tutorial: How to Manage Integrations
🔹 Step 6: Set Up Notifications
StackWrap's Notifications feature allows you to keep your team informed with timely updates, reminders, and action items directly within the platform.
There are two types of Notifications that you can send to your team:
- Send Message: creates an in-app notification that can also be sent to users via email (think of it as your StackWrap-to-StackWrap messaging system).
- Send Announcement: allows you to create a pop up message that your users will see upon their next login. This is especially useful if you want to drive attention to an upcoming company meeting, a lender partner, or a relationship with an ancillary service.
For a full tutorial on Notifications, click here
For a full tutorial on Announcements, click here
🔹 Step 7: Managing Onboarding Tasks and Task Templates
With StackWrap Tasks, you can create and publish tasks to your team directly from within the platform.
You can create two different types of Tasks:
- Onboarding tasks
- General tasks and task templates
For a full tutorial on creating and managing tasks, click on the links below:
Creating and Managing General Tasks
🔹 Step 8: Final Account Review with StackWrap Customer Success
Before you go live, schedule a final walkthrough with your StackWrap Customer Success Team. We’ll do a full audit to ensure everything is set up correctly!
✉️ Book your account review call with StackWrap Customer Success: Click Here
🔹 Step 9: Add Users + Launch!
Once you’re ready to launch StackWrap to your team, you have the ability to create and manage your users in a few different ways.
As a reminder, once a user is added to the system, they will receive a welcome email and will be prompted to log into StackWrap. Therefore, make sure to create your users when you are ready to launch.
Please find below tutorials on the most common methods to add users to your account.
If you're managing your roster another way, please let us know by clicking here and he’ll help you sync and create your users!
🔹 Step 10: Post Launch Account Review
Your StackWrap account will continue to be a living, breathing, ever-evolving platform, and our team will help you continue to optimize your account.
It’s beneficial to schedule monthly check ins with your StackWrap Customer Success Team to help you with best practices. Here's a link that you can always use:
StackWrap Account Review Meeting